
Starter Inventory & Items
An Unreal Engine Blueprint System
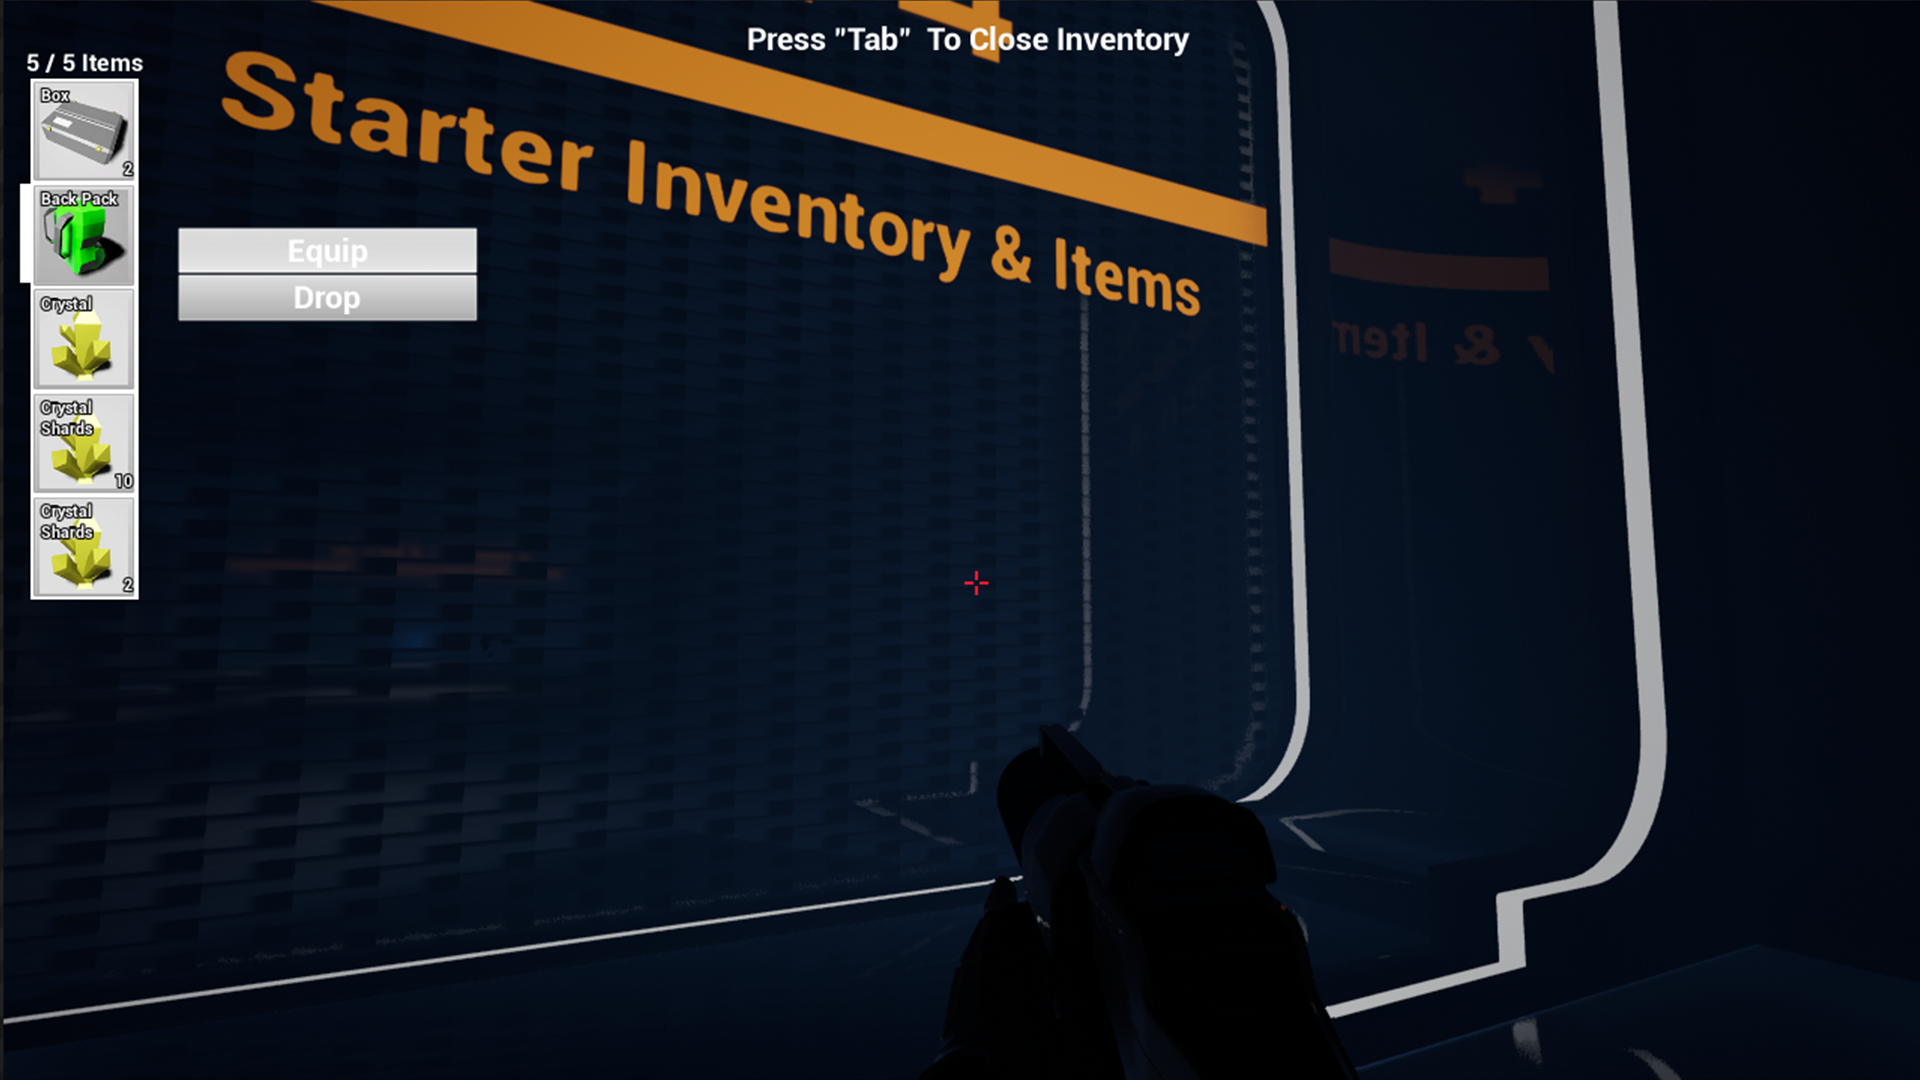


Starter Inventory easily adds pickup-able items and a straightforward inventory menu into your project. You can quickly customize item details to make unique instances, and It’s simple UI elements allows quick customization to your specific project.
Capabilities & Features
Documentation
Changelog
Tutorials and Help Articles
Save Game System
Look Based interactions
Changing to a Grid-based Layout
Capabilities & Features
Extendable “Item_Base” Blueprint Class supporting:
Item Pickup
Item Dropping w/ Quantity Selection
Item Slot Stacking and Overfill logic
Configurable Pickup length Items: From instant pickup on touch, to hold for a specific duration
Default Item actions: Use, Dismantle, Equip, Drop
Extendable Child Actions: Have different results off the same action type
Customizable UI: Inventory Menu, Item List Element and Context Action UI
UI Messages and feedback:
Interaction Available
Inventory Full
Progress bar when time is required for pickup
Item added to Inventory Messaging
and
Multiplayer Ready Net Replication
By adjusting the exposed variables in the Item_Base Class, you can create items that have a variety of specific pickup behaviors. Such as an item that picks-up instantly when the player is near, items that require a button push to pickup, or an item that requires a button be held for a duration of time.
You can also create children of the Item_Base Class that can each have unique and specific actions to execute, such as using an “ammo pack” has a different in game action than using a “health kit”. The Item_base class comes with 4 built in actions that can be turned on or off per instance, including “Use”, “Drop”, “Dismantle” and “Equip”. Instructions on adding more actions can be found in the Documentation.
The Inventory itself is a slot based system where you can set the overall size (quantity) of the allowed inventory items, as well as create stacking rules per item type. This allows items to be stacked to a variable quantity, such as collecting lots of “small” items that can all share one slot, or allowing you to create “unique” or "large" items that take up a whole slot just by themselves.
Smart logic is used to fill item stacks before attempts to fill an inventory slot, as well as logic to handle “spill over”, in the case that too many items are added to the inventory and there is no room in stacks or slots, (Those items are spawned near the player) more detailed information on the Placing and Stacking functions can be found in the Documentation
Update History:
2019-10-11: New Demo Level, Asset Updates and minor bug fixes
2018-06-04: Net replication Update
2018-04-23: Initial Release
Roadmap:
Upcoming: Generic Controller Support
Example Blueprint Files
Backpack Item, increases your inventory capacity when equipped.
Crystal Item, Dismantles into a stack of lesser crystal shards, shows adding items to inventory without physical item.
Player Modifier Item, Use to modify player character attributes.

Extras
Includes Crystal, Box, and Backpack 3D Mesh & 2D Icons
Documentation
Migrating to your Project & Setting it up
Migrate the "Starter Inventory" folder to your project's content folder, (here is a guide if you are unfamiliar with file migration) Always backup your project first.
This will also copy over the used FirstPersonCharacter bp, If you are using your own player character, you will need to setup a couple of items and update variable references to get the system working in your project.
First, locate the action mappings in project settings and replicate the Interact and Inventory actions, as found in the starter inventory project.
Open Your Character Blueprint and add the Inventory component, via the left hand component menu. Name it "Inventory Component".
Open the provided First Person Character Blueprint and copy the commented blueprint diagrams commented as "Starter Inventory Additions", & "Network Replication Events" and paste into your character blueprint.
Hook up the Action Mappings and Event Tick as shown in the first person blueprint.
Optionally you can also copy the interrupt branches placed in the "Mouse input W/ Simple Inventory check" in the character blueprint, this disables mouse look while the inventory is open.
Next You will need to update the character references, inventory component references and cast to character nodes throughout the project. to use the new new character class references of your project.
Here is a list of all files containing theses, references
Blueprints/Inventory
Blueprints/Item_Base
Blueprints/Item_Examples/Item_Backpack
Blueprints/Item_Examples/Item_Crystal
Blueprints/Item_Examples/Item_Surprise
UMG/Inventory_List_Item
UMG/Inventoty_Screen
UMG/Item_Context_Button
UMG/Item_QuantitySlider
Start by Opening the Blueprints/Inventory and change the Char Ref Variable to the class of your character.
Attempt a compile, errors should indicate which other nodes and variables need to be updated for compatibility with your character class. Keep track of what the nodes were connected to when replacing them. In general you will do one or more of the following things.
You are updating the Char ref variable to the class of your character,
Updating the get inventory component, to get from the updated Char ref.
Updating the Cast to FirstPersonCharacter nodes, with a Cast to the appropriate character class node.
Repeat this with each listed blueprint until all errors are resolved.
Once completed you should be able to open and close the inventory with the key you bound the action mapping to as well as place an "Item_base" derived actor in your level, pick it up, open your inventory and interact with it.
Action Mappings
Adding inventory component to character class
Hooking action mappings to inventory functions
System Overview
Important Basics
Inventory Component, actor component: Handles primary logic for item system, it is placed in your character
Inventory Array, Inventory_Struct Array, This is THE inventory array where the items are stored.
Inventory Item Max, Int, sets the quantity of items allowed in the inventory.
Item_Base, Blueprint Actor, Base item used in inventory objects
Inventory_Struct, Structure, used to store inventory details in the Inventory
Inventory_Screen, UMG Widget, Inventory Screen
Inventory_List_Item, UMG Widget,
Item_Context_Button, UMG Widget, Used to construct list of available actions displayed on list item selection
Item_Quantity_Slider, UMG Widget, Used in selection of drop quantity
Item_Actions_Enum, Enumeration, List of potential actions used in item configuration
Message_Overlays, UMG Widget, Used for on screen messaging
Important Functions
"Add Item To Inventory": adds a physical "item_base" to players inventory
"Spawn Item From Inventory": spawn "item_base" actor from inventory
"Fill Stacks and Spawn Remainder": Iterates through inventory slot stacks attempting to place a quantity of items, spawns the remains quantity near player.
Creating new Inventory Items
Create a child blueprint of Item_base

COnfiguring Item_Base
Customize the details
Item Name, Name of item displayed in menu
Pickup Time, amount of time it takes while holding the pickup button, to pick up item
Stack Limit, sets stack limit on item
Item Interactions, Options displayed in item context menu
Interaction Verb, text displayed in pickup prompt
Model, 3D asset displayed in game
Image, 2d asset displayed in inventory menu
Pickup Sound, sound asset played when item is pickedup
Show Interaction Range, debug toggle that displays interaction sphere
Interaction Distance Scale, size of interaction sphere around item
Mesh Scale, sets scale of 3d mesh in world.
Extending Item Functionality
Adding additional functionality to the existing functions
You can add customize the functionality of an item such as having specific things happen when it is "used" or "dismantled" by Overriding the existing functions in your child blueprint.
Use
Equip
Dismantle
Drop
Equip overide used in Item_Backpack to increase inventory quantity
Adding Item Functionality
If you are looking to add, additional item actions beyond the default four, you need to edit the following four files.
Item_Actions_Enum, add the specific text of the action.
Item_Base Add a new function to execute

Action functions in Item_Base
Item_Context_Button the button pressed with the specific inventory function (Ex. Use Item, Equip Item, Dismantle Item)

Conext button action switch
Inventory Handles how this action should impact inventory quantity and then connects to the specific function in the item_base to be called.

Use Item function from inventory component